DIY Upcycled Can Key Chains


You'll Need:
- Clean, empty soda cans
- Manual Can Opener
- Tin Snips
- Needlenose pliers
- Hole Punch
- Mod Podge Dimensional magic
- Chain Links & key ring
Start by cutting up your can. I used a can opener on the top to get that off first. Be really careful because the metal is super sharp. The can opener leaves the metal jagged so be sure to wear safety gloves.

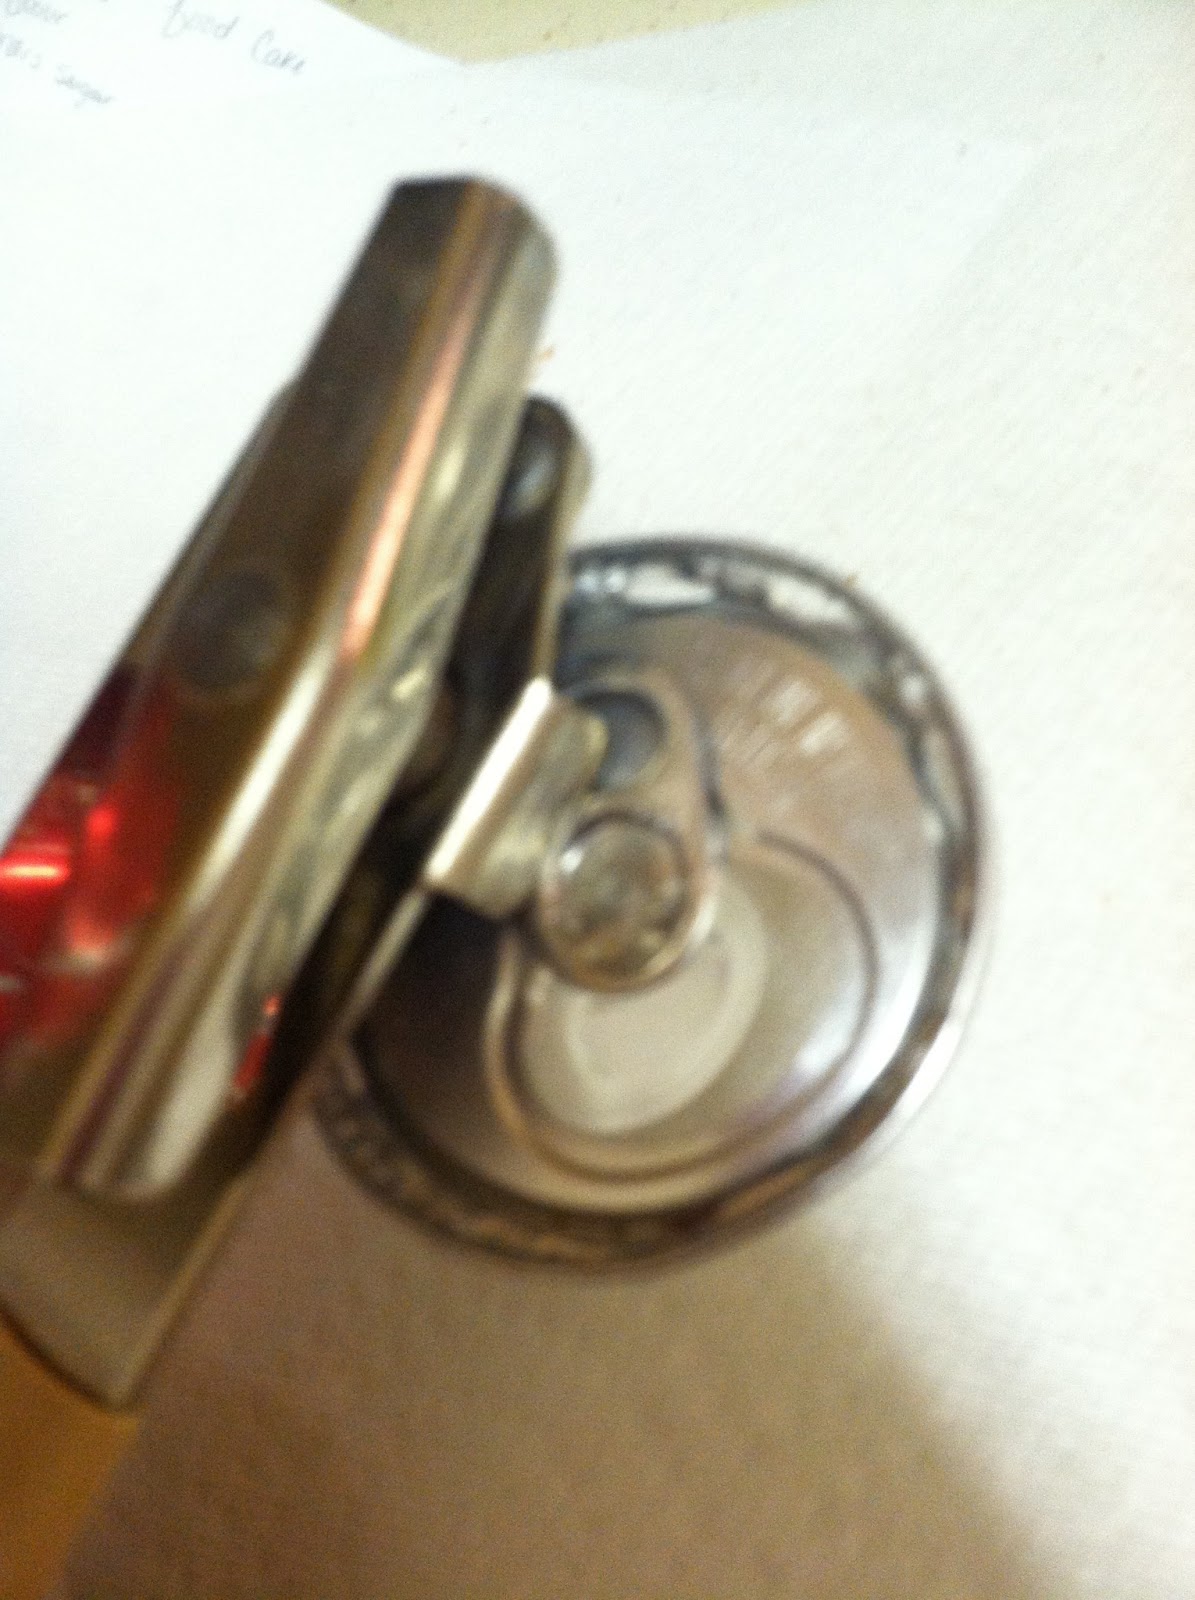
Take off the top half inch of the can with the tin snips.
Cut down along the side of the can with the nutrition facts, then cut the entire bottom off. You'll be left with a flat (kind of) rectangular piece of tin.
Trace the shapes you would like to cut out with a sharpie. You can draw them on the inside or the outside of the can, whatever you find easier to work with. I also recommend using shapes that do not have sharp edges. The sharp edges can pull at clothes and fabric.
Cut holes in each near the edge with a hole punch. If you are planning on gluing them together, make sure the holes are each on the proper side.
You can leave the pieces to be one sided and the other side will just be silver. I chose to glue two pieces together, which proved to be a bit tricky.
I used tacky glue, but in retrospect I should have used E4000.
Etch the silver sides of two identical pieces with a file, apply glue. Press and hold together 30 seconds, then secure with a clip. Leave to dry for at least 48 hours.


You can also cut out longer strips of tin and fold it in half. Still glue and clamp for 48 hours.

Once glue is dry, apply the dimensional magic mod podge. It has a small applicator tip that you can squeeze the mod podge out and apply it as necessary with. Use 2-3 coats per side, allowing to dry completely between each.
One other technique you can do is cut longer strips of tin and twist for a spiral look.
Bend the chain links open with a pair of needlenose pliers and hook them as necessary. Hook them together or onto an old keychain.
You can also hook the soda can tab onto it as well for an extra little addition.


I really love the result of these and especially how cheap and thrifty they are. I bet you will love them too.
**Update: I've made a few more of these with stronger chain links! Look at how cute


I would love to see your versions of these cute key chains! Or what other creative ideas other people have. Don't forget to pin me